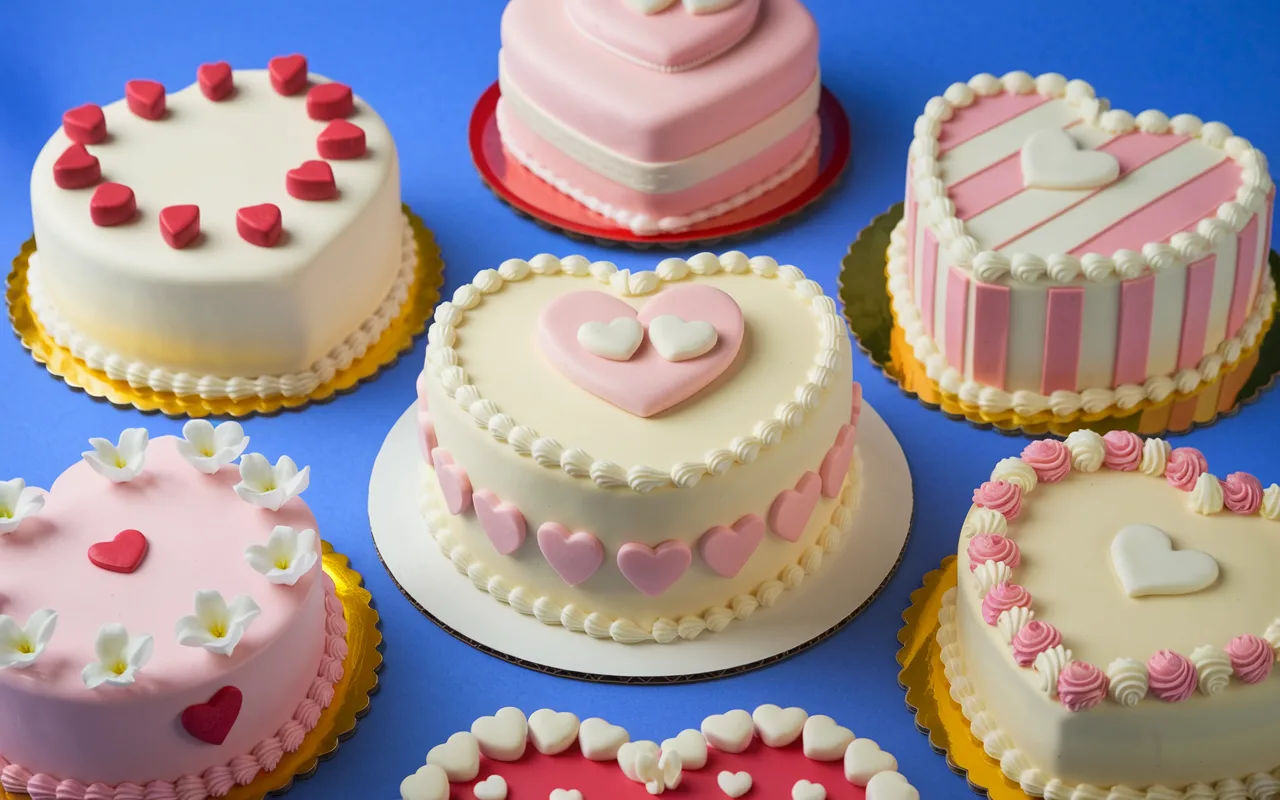
Heart-shaped cakes are a timeless choice for celebrating love and special moments. Whether it’s a wedding anniversary, Valentine’s Day, or a birthday, these cakes allow you to express emotions in the sweetest way possible. With our list of 10 creative heart-shaped cake decorating ideas, you’ll discover innovative ways to transform a simple dessert into a work of art. From classic buttercream designs to glamorous edible glitter touches, these ideas cater to every taste and occasion.
Table of Contents
1. Classic Buttercream Design
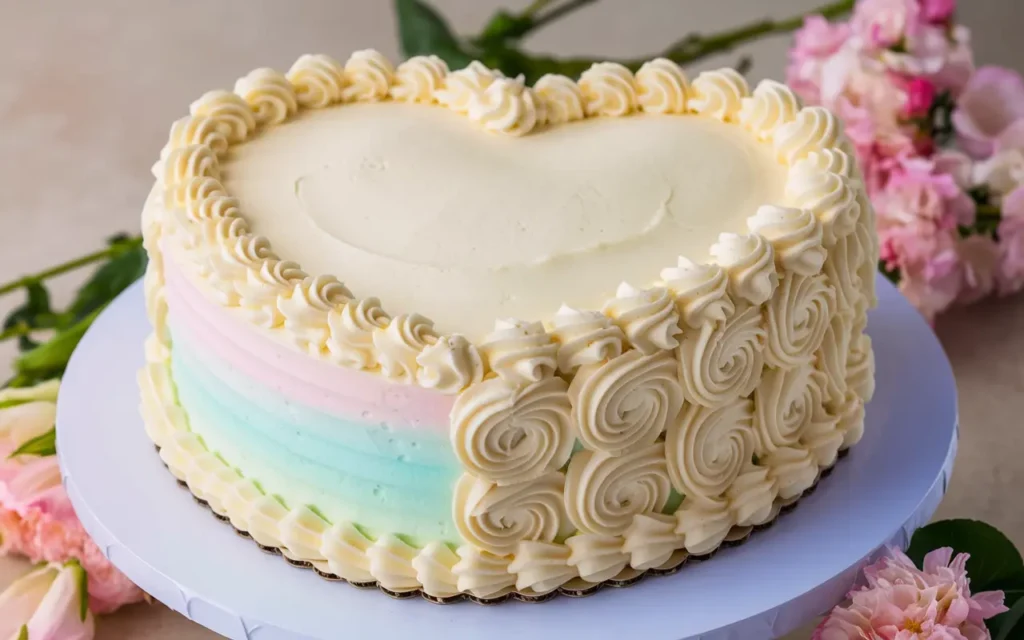
Tools Needed for Buttercream Decoration
To create a classic buttercream heart-shaped cake, gather these essential tools:
- Offset spatula for smooth application
- Bench scraper for a polished finish
- Piping bags and tips for decorative details
- Turntable for ease of frosting
- Food coloring to match your theme
Step-by-Step Guide for a Smooth Finish
- Prepare the Cake Base
- Bake a heart-shaped cake or carve one from a round cake using a template.
- Chill the cake for easier frosting.
- Crumb Coat
- Apply a thin layer of buttercream to seal in crumbs.
- Chill the cake for 15-20 minutes to set the crumb coat.
- Final Layer
- Spread a thick layer of buttercream over the cake using the offset spatula.
- Smooth out the sides and top with a bench scraper.
- Decorative Touches
- Pipe borders or rosettes along the edges for added elegance.
- Use food coloring to create contrast or patterns.
2. Floral Fondant Accents
Choosing Fondant Colors and Cutters
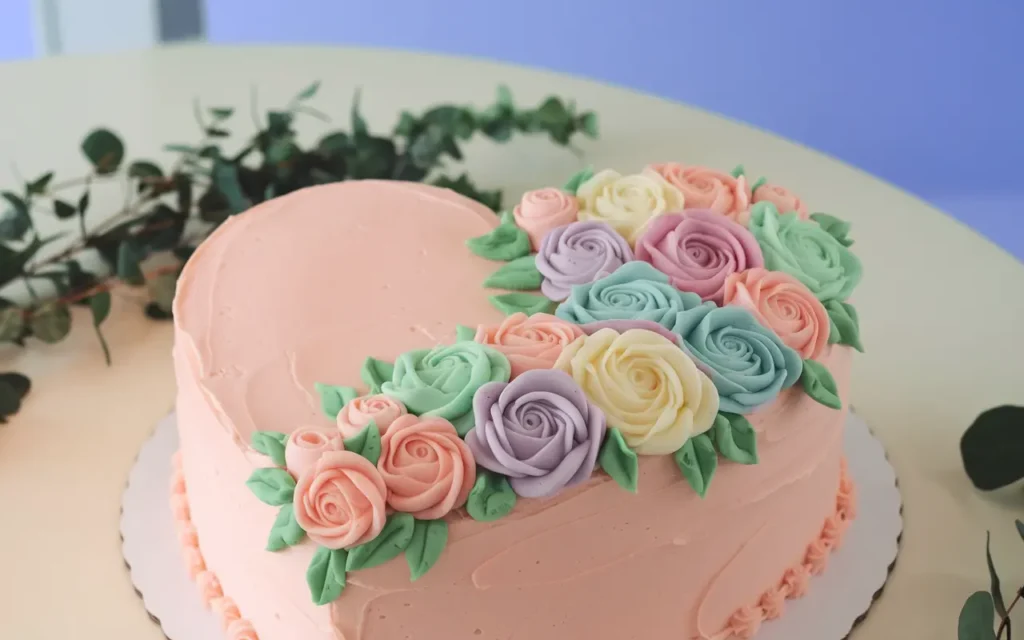
Fondant provides an elegant and versatile way to decorate heart-shaped cakes. Here’s how to get started:
- Colors: Opt for soft pastel shades like pink, lavender, or white for a romantic vibe. For bold occasions, go for deep reds or metallic hues.
- Cutters: Use flower-shaped cutters in varying sizes to create fondant blooms. Leaf-shaped cutters add natural accents.
How to Make Fondant Flowers
- Prepare the Fondant
- Knead the fondant until it becomes soft and pliable.
- Add food coloring, if necessary, and knead until evenly blended.
- Create Flowers
- Roll out the fondant to about 2-3mm thickness.
- Use cutters to shape the flowers and gently mold them for a 3D effect.
- Allow them to dry slightly for firmness.
- Decorate the Cake
- Attach the flowers to the cake using a small dab of edible glue or water.
- Arrange them in clusters or patterns for a stunning display.
3. Drip Cake Elegance
Types of Drip Techniques
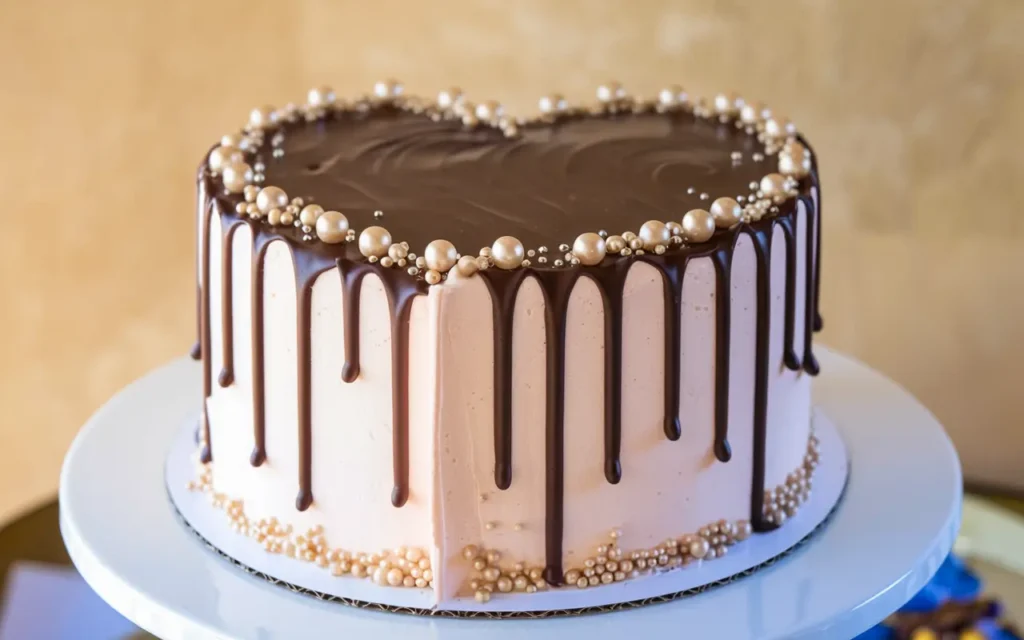
Drip cakes add a luxurious and trendy look to heart-shaped cakes. Here are two popular techniques:
- Chocolate Ganache Drip: A mix of heavy cream and chocolate creates a glossy, smooth drip effect.
- Candy Melt Drip: Perfect for colorful themes, melted candy or white chocolate with food coloring achieves vibrant drips.
Adding Sprinkles or Edible Pearls
Enhance the elegance of your drip cake by incorporating:
- Sprinkles: Add playful or thematic touches with metallic or pastel-colored sprinkles.
- Edible Pearls: Scatter these around the drips for a sophisticated, romantic feel.
How to Apply a Perfect Drip
- Prepare the Drip Mixture
- Heat chocolate ganache or candy melts until smooth and slightly runny.
- Test the consistency by letting a small amount drip down a spoon.
- Apply the Drips
- Use a spoon or piping bag to apply drips around the edge of the cake.
- Allow the drip to flow naturally down the sides.
- Finish the Top
- Cover the top of the cake with the remaining ganache or melts.
- Smooth it out evenly for a polished look.
4. Ombre Icing Layers
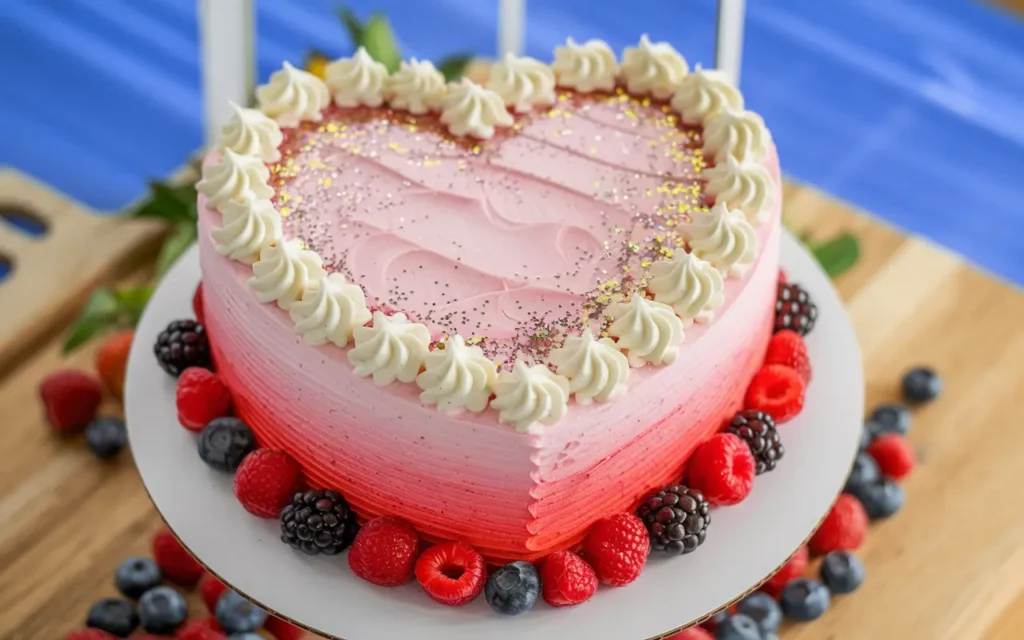
Selecting Gradient Shades
The ombre effect is a popular choice for heart-shaped cakes due to its visually stunning appeal. Here’s how to select the right shades:
- Romantic Themes: Use pink to red or white to lavender gradients for weddings and anniversaries.
- Playful Occasions: Bright tones like yellow to orange or blue to green add a fun touch.
- Choose three or more shades to achieve a seamless gradient.
Achieving a Flawless Ombre Effect
- Prepare the Icing
- Divide buttercream into separate bowls.
- Add increasing amounts of food coloring to create a gradient of shades.
- Apply to the Cake
- Start with the darkest shade at the bottom of the heart-shaped cake.
- Gradually apply lighter shades as you move up.
- Blend the Layers
- Use an offset spatula or bench scraper to gently blend where colors meet, creating a smooth transition.
- Decorative Finish
- Add complementary accents like edible glitter or a piped border at the top.
5. Chocolate Overload Theme
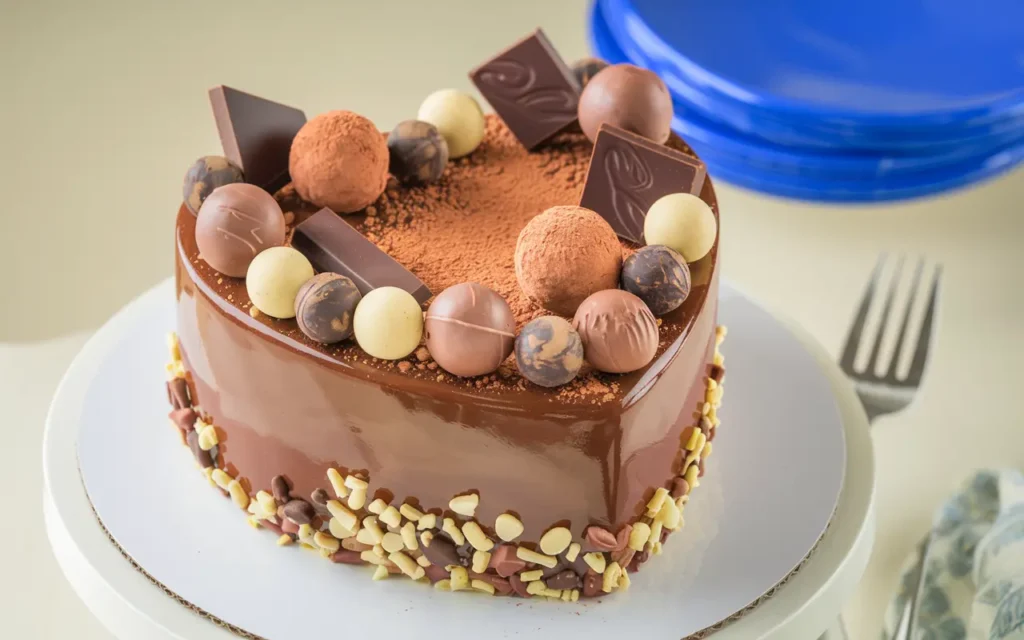
Incorporating Chocolate Pieces Creatively
For chocolate lovers, a heart-shaped cake loaded with chocolate pieces is irresistible. Here’s how to make it visually stunning:
- Use a variety of chocolate: milk, dark, and white.
- Add chocolate bars, curls, truffles, or chunks for a textured look.
- Incorporate chocolate wafers or macarons for additional layers.
Tips for Using Chocolate Ganache
- Preparation
- Create a rich ganache by mixing equal parts heavy cream and chocolate.
- Let it cool slightly until it thickens but remains pourable.
- Application
- Pour the ganache over the cake for a glossy finish.
- Let it drip down the sides for added drama.
- Layer and Decorate
- Arrange chocolate pieces on top of the ganache layer.
- Use edible gold leaf or cocoa powder for a luxurious touch.
6. Minimalist Monochrome Style
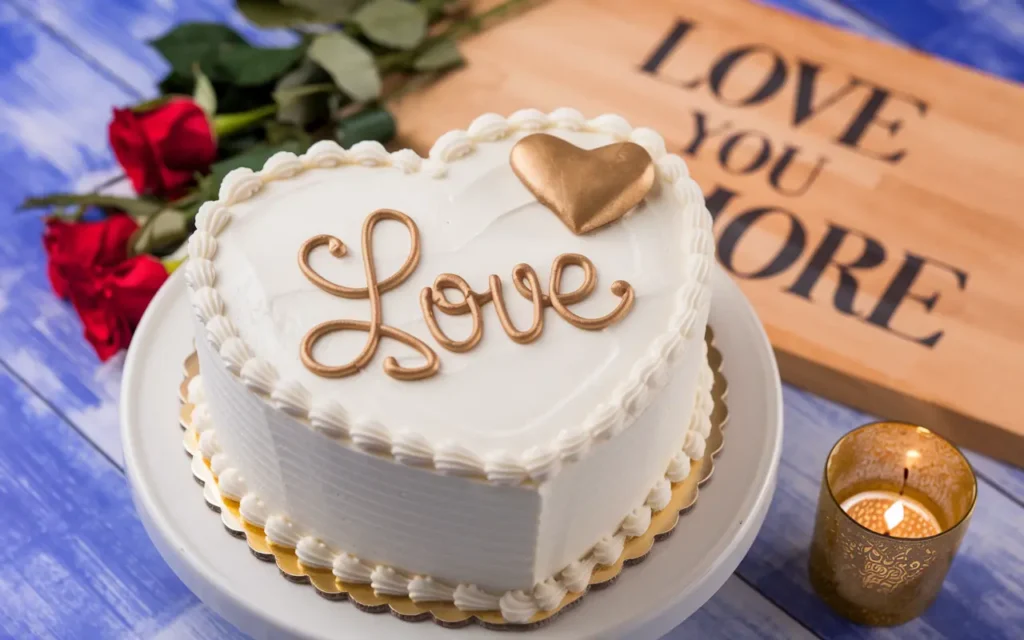
Perfecting Single-Tone Frosting
Minimalist designs exude elegance, especially for heart-shaped cakes. Follow these tips to master monochrome frosting:
- Choose the Right Shade: Opt for timeless colors like white, black, or pastel hues.
- Smooth Finish: Use a bench scraper to achieve a flawless, even surface.
Adding Text or Shapes for Flair
- Text
- Use contrasting icing colors to pipe a simple message like “Love” or “Forever.”
- Keep fonts clean and modern for a contemporary look.
- Shapes
- Add subtle accents like hearts or geometric patterns using fondant or piped icing.
- Use edible metallic paint to highlight details.
7. Candy Land Delight
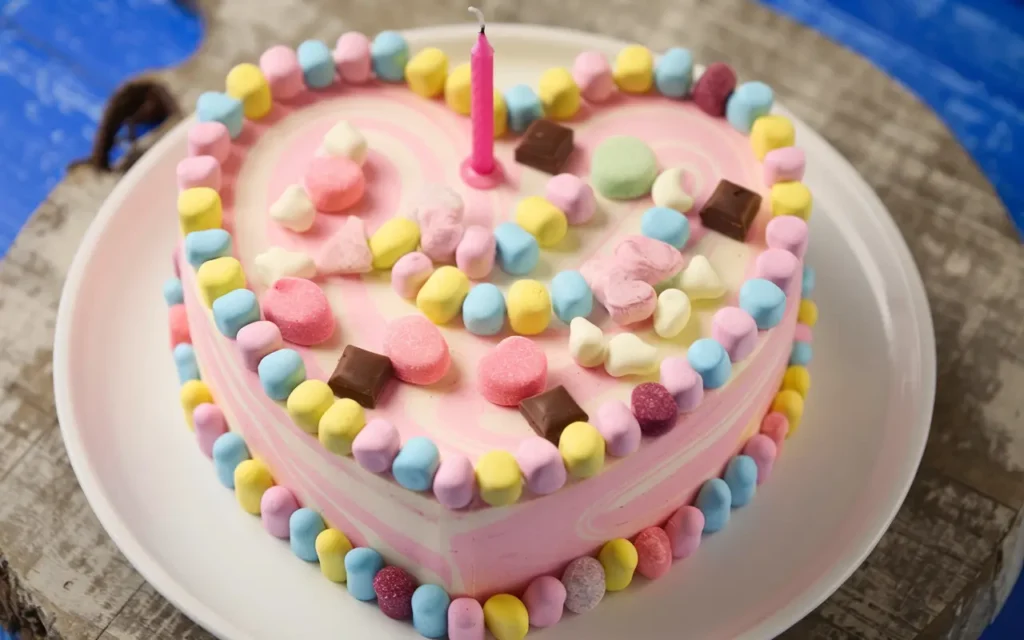
Ideal Candies for Decorations
Transform your heart-shaped cake into a colorful treat with:
- Gummies, marshmallows, and candy canes for texture.
- M&Ms or Skittles to create vibrant patterns.
- Lollipops and hard candies for added height and drama.
Structuring a Layered Candy Cake
- Candy Placement
- Start with a base layer of frosting to secure the candies.
- Arrange smaller candies first, followed by larger pieces for a balanced design.
- Theme Coordination
- Match candy colors to the occasion (e.g., red and pink for Valentine’s Day).
- Use edible glitter or sprinkles to tie the design together.
If you’re looking for a simple yet elegant cake option, try pairing this minimalist style with an easy-to-make base like a sheet cake. Check out our Easy Kefir Sheet Cake Recipe for Beginners for a versatile and delicious foundation to decorate.
8. Romantic Rosette Patterns
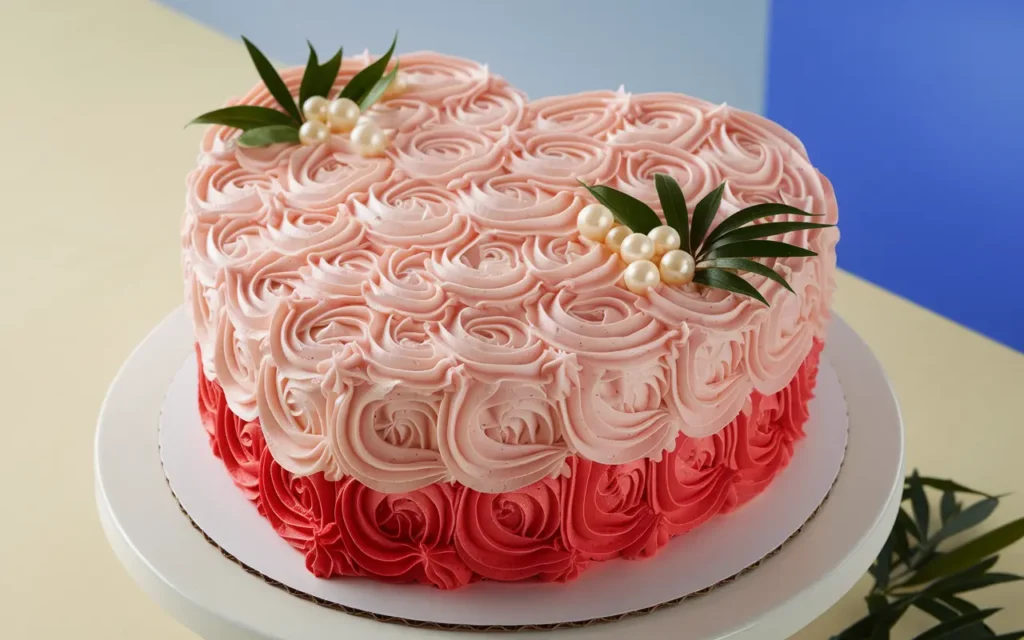
Piping Techniques for Rosettes
Creating romantic rosettes on a heart-shaped cake requires the right tools and methods:
- Use a star-shaped piping tip for a classic rosette design.
- Hold the piping bag at a 90-degree angle to the cake surface.
- Pipe in a continuous spiral motion starting from the center of the rosette.
Blending Colors for a Romantic Look
- Two-Tone Rosettes
- Fill one side of the piping bag with one color and the other side with another for a dual-tone effect.
- Gradient Rosettes
- Gradually transition colors (e.g., light pink to deep red) for a blended, romantic appearance.
- Finishing Touches
- Add edible pearls or glitter at the center of each rosette for added elegance.
- Use piped leaves or vines for a complete floral look.
9. Textured Buttercream Art
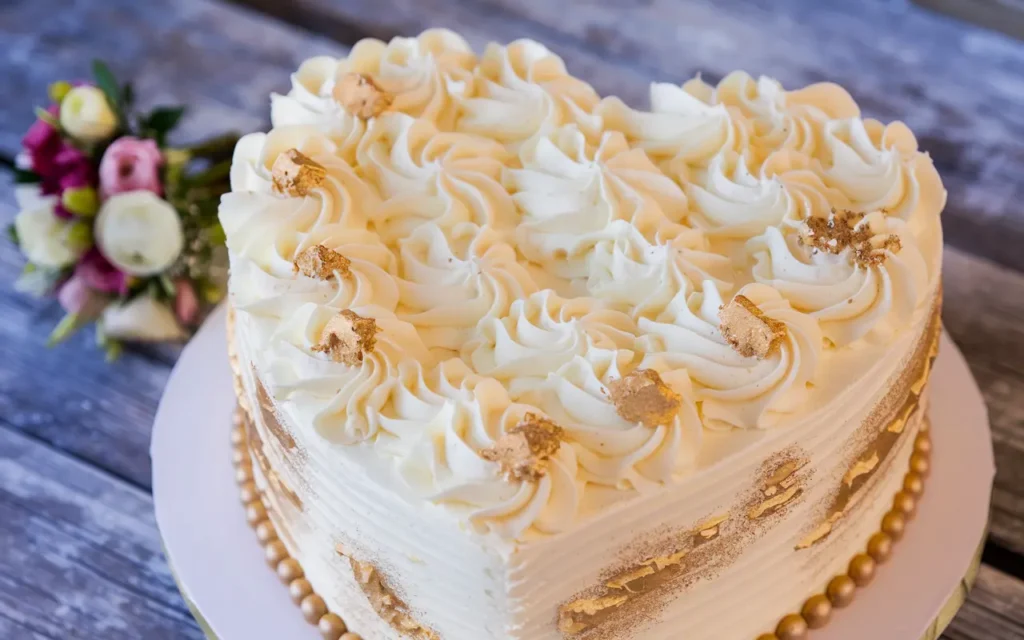
Using Tools for Texture
Textured buttercream adds depth and uniqueness to heart-shaped cakes. These tools can help:
- Palette Knife: Create smooth, wavy, or artistic strokes.
- Fork or Comb: Add striped or ridged patterns.
- Stencils: Apply patterns like hearts or geometric shapes using powdered sugar or contrasting buttercream.
Tips for Combining Patterns
- Layered Textures
- Start with a smooth base coat of buttercream.
- Add waves, stripes, or rustic swirls for layered effects.
- Highlight Specific Areas
- Focus textured designs on the edges or center for emphasis.
- Use contrasting colors to make textures pop.
- Experiment with Color
- Blend complementary shades or add gradients for a dynamic look.
- Use metallic edible paint to highlight certain textures.
10. Edible Glitter and Metallic Touches
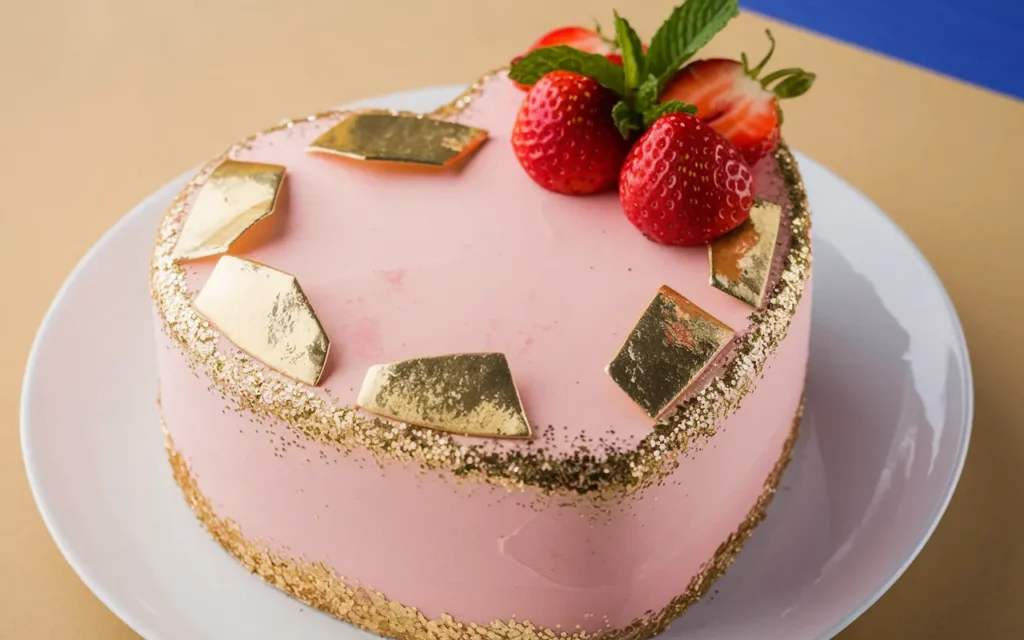
Safe Edible Glitter Options
Edible glitter adds sparkle to your heart-shaped cakes. Ensure you use:
- FDA-approved edible glitter or luster dust for food safety.
- Gel-based glitter for a shiny, wet-look effect.
- Dry glitter for a subtle shimmer.
Enhancing Cakes with Metallic Colors
- Metallic Accents
- Use edible gold or silver leaf to create bold highlights.
- Apply sparingly for a sophisticated look.
- Piping Metallic Details
- Mix luster dust with vodka or lemon extract to create a paint.
- Pipe elegant designs like swirls or borders using metallic tones.
- Full Coverage
- Cover parts of the cake with metallic buttercream or fondant for a dramatic effect.
- Use stencils to add patterns in metallic shades.
When choosing edible glitter, it’s essential to ensure that it is FDA-approved and food-safe. For more information about safe edible decorations, you can refer to this guide from the FDA on Food Decorative Products.
Adding Elegance with Heart-Shaped Cake Decorating Ideas
Heart-shaped cake decorating ideas offer countless ways to infuse elegance into your celebrations. Whether you opt for sophisticated metallic touches, floral fondant accents, or minimalist designs, each idea can elevate your cake’s appearance while capturing the spirit of the occasion. These creative approaches ensure your heart-shaped cake becomes the centerpiece of your special day.
Final Thoughts
Heart-shaped cakes are more than just desserts—they’re edible expressions of love and creativity. With these 10 decorating ideas, you can transform any special occasion into an unforgettable celebration. Whether you prefer the timeless elegance of buttercream, the playful charm of candy decorations, or the dazzling sparkle of edible glitter, there’s a design to match every style and sentiment.
Experiment with colors, textures, and embellishments to make your cake uniquely yours. Remember, the joy of cake decorating lies in the process as much as the result. Each design reflects your effort and thoughtfulness, making the cake a centerpiece of cherished moments.
FAQs
1. What are the best tools for heart-shaped cake decorating ideas?
For heart-shaped cake decorating ideas, essential tools include an offset spatula, piping bags, a bench scraper, and cake turntables. Fondant cutters, stencils, and edible glitter can help add creative and intricate details to your designs.
2. How do I make buttercream look smooth on a heart-shaped cake?
To achieve a smooth finish for buttercream on a heart-shaped cake, use a crumb coat to seal crumbs, then apply a final layer with an offset spatula and bench scraper. Chilling the cake between coats makes the process easier.
3. Can I combine multiple decorating ideas on one cake?
Absolutely! You can mix heart-shaped cake decorating ideas, such as pairing ombre icing with drip effects or adding fondant flowers to a textured buttercream base. Just ensure the elements complement each other for a cohesive look.
4. What type of glitter is safe for edible cake decorations?
Only FDA-approved edible glitter or luster dust should be used for decorating cakes. Look for products labeled specifically as “edible” to ensure they are food-safe.
5. How do I make my chocolate drip neat on a heart-shaped cake?
To achieve a neat drip, use slightly cooled ganache with the right consistency. Apply drips using a spoon or piping bag, letting them flow naturally. Start at the edges and finish by smoothing the top.

