If you’ve ever tried the Milk Bar Pumpkin Pie, you know it’s a one-of-a-kind dessert. With its velvety texture and rich pumpkin flavor, it’s no surprise this pie has become a holiday favorite. The good news? You don’t need to visit a Milk Bar location to enjoy it! This guide will walk you through the process of creating the iconic Milk Bar Pumpkin Pie at home.
Using fresh ingredients and a few simple techniques, you’ll master the art of this famous dessert. Whether you’re preparing for a festive gathering or just treating yourself, this recipe will leave everyone craving more.
Table of Contents
Ingredients for Milk Bar Pumpkin Pie

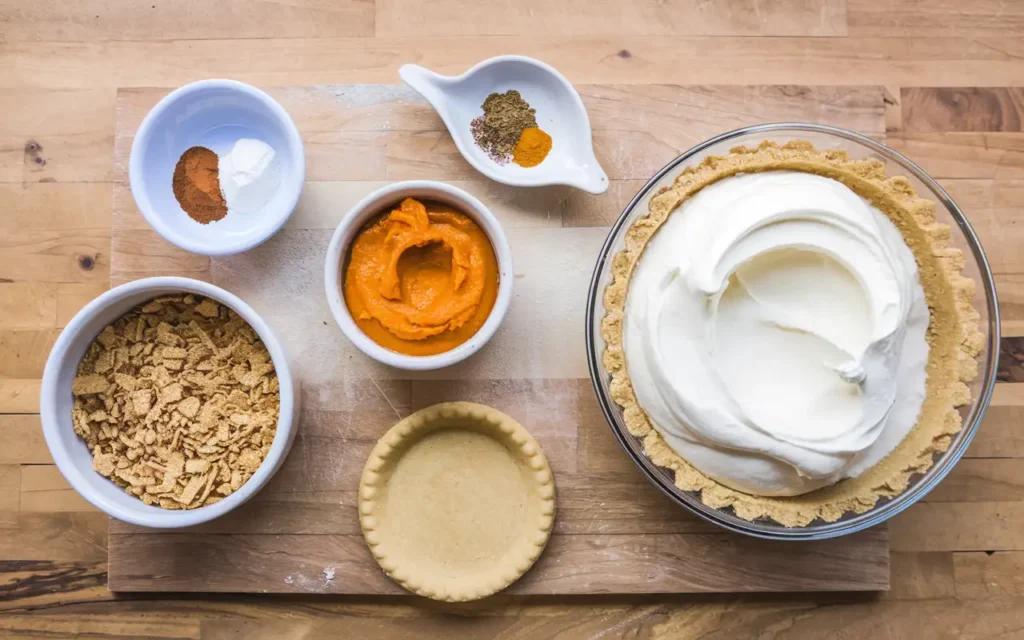
To recreate the famous Milk Bar Pumpkin Pie, start by gathering all the essential ingredients. Fresh, high-quality ingredients are key to achieving the rich, indulgent flavor this dessert is known for.
Key Ingredients
- For the Crust:
- 1 ½ cups graham cracker crumbs
- ¼ cup granulated sugar
- ½ teaspoon ground cinnamon
- 6 tablespoons unsalted butter, melted
- For the Filling:
- 1 ½ cups pumpkin puree
- ¾ cup sweetened condensed milk
- ½ cup light brown sugar
- 2 large eggs
- 1 teaspoon vanilla extract
- 1 teaspoon ground cinnamon
- ½ teaspoon ground nutmeg
- ¼ teaspoon ground ginger
- Pinch of salt
- For the Topping (Optional):
- Whipped cream or a dollop of crème fraîche
- Crushed graham crackers or nuts for garnish
Substitutions and Tips
- Crust Alternatives: Swap graham crackers for digestive biscuits or ginger snaps for a spicier twist.
- Dairy-Free Option: Use a non-dairy condensed milk and vegan butter for a dairy-free version.
- Pumpkin Puree: Make your own pumpkin puree by roasting fresh pumpkin, or use a high-quality canned version.
Essential Equipment

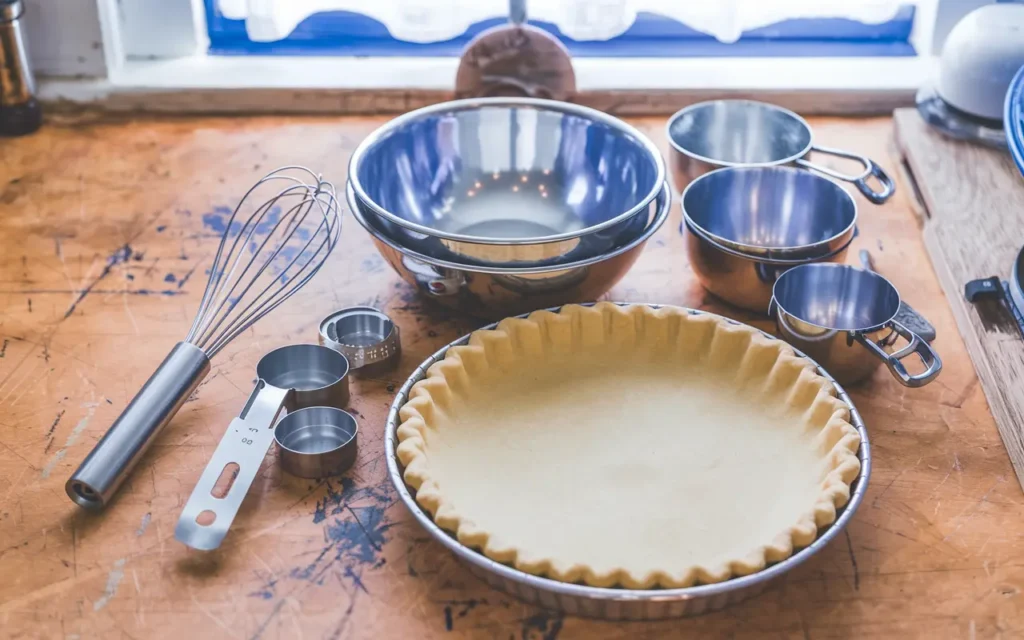
Creating the Milk Bar Pumpkin Pie is straightforward, but having the right tools can make the process smoother and more enjoyable. Here’s what you’ll need:
Baking Tools You’ll Need
- Mixing Bowls: At least two medium-sized bowls for combining crust and filling ingredients.
- Measuring Cups and Spoons: Ensure accurate measurements for a perfect pie.
- Pie Pan: A 9-inch pie pan is ideal for this recipe. You can use glass, metal, or ceramic.
- Food Processor or Blender: Helpful for crushing graham crackers into fine crumbs.
- Whisk or Hand Mixer: For blending the filling ingredients until smooth.
- Rubber Spatula: Useful for scraping down the sides of mixing bowls.
- Oven Mitts: To handle hot pie pans safely.
- Cooling Rack: For cooling the pie evenly after baking.
Pro Tip: If you don’t have a food processor, you can place graham crackers in a zip-top bag and crush them using a rolling pin.
Step-by-Step Instructions
Making the Milk Bar Pumpkin Pie involves a few simple steps: preparing the crust, making the filling, and baking the pie to perfection. Let’s dive into the details!
Preparing the Crust
- Crush the Graham Crackers:
- Use a food processor to blend the graham crackers into fine crumbs. If using a rolling pin, ensure the crumbs are evenly crushed.
- Combine Ingredients:
- In a medium mixing bowl, combine the graham cracker crumbs, sugar, cinnamon, and melted butter. Mix until the crumbs are evenly coated and resemble wet sand.
- Press Into the Pan:
- Transfer the mixture into a 9-inch pie pan. Using your fingers or the back of a measuring cup, press the mixture firmly into the bottom and up the sides of the pan to form an even crust.
- Pre-Bake the Crust:
- Preheat the oven to 350°F (175°C). Bake the crust for 8-10 minutes until lightly golden. Set aside to cool while you prepare the filling.
Making the Pumpkin Filling
- Mix Wet Ingredients:
- In a large mixing bowl, whisk together the pumpkin puree, sweetened condensed milk, eggs, and vanilla extract until smooth.
- Add Spices and Sweeteners:
- Gradually add brown sugar, cinnamon, nutmeg, ginger, and salt. Whisk until the mixture is well-blended and creamy.
- Check Consistency:
- The filling should be slightly thick and pourable. If it’s too thin, let it rest for a few minutes to thicken naturally.
Baking and Cooling the Pie
- Pour the Filling:
- Pour the prepared pumpkin filling into the cooled crust. Use a spatula to smooth the top for even baking.
- Bake the Pie:
- Place the pie in the preheated oven and bake at 350°F (175°C) for 50-60 minutes.
- Check for doneness by inserting a toothpick or knife in the center—it should come out clean or slightly moist.
- Cool Completely:
- Let the pie cool on a wire rack for at least 2 hours. This helps the filling set properly.
Pro Tips for Success
- Prevent Cracks: Avoid overbaking the pie, as this can cause cracks in the filling.
- Room Temperature Ingredients: Using room-temperature eggs and condensed milk helps the filling blend smoothly.
Tips for Perfecting the Milk Bar Pumpkin Pie

While the recipe is straightforward, mastering a few key techniques and avoiding common pitfalls can take your Milk Bar Pumpkin Pie to the next level.
Avoiding Common Mistakes
- Don’t Overmix the Filling:
- Overmixing can introduce too much air into the filling, which may lead to cracks or an uneven texture. Mix just until the ingredients are well combined.
- Blind Bake the Crust Correctly:
- If you notice the crust is uneven after pressing, use the bottom of a glass to smooth it out before pre-baking. Ensure no gaps or cracks, which can cause leaks during baking.
- Check Your Oven Temperature:
- Use an oven thermometer to ensure your oven is at the correct temperature. Overheating can dry out the pie, while a low temperature may result in underbaking.
- Prevent a Soggy Bottom:
- Allow the crust to cool completely after blind baking before adding the filling. This prevents the crust from becoming soggy.
- Cover the Edges:
- Use a pie shield or aluminum foil to cover the edges of the crust during baking to prevent overbrowning.
Adding a Personal Twist
- Infused Spices:
- Toast your spices lightly in a pan before adding them to the filling to enhance their flavors.
- Extra Crunch:
- Sprinkle a layer of crushed pecans or almonds on the crust before adding the filling for a nutty surprise.
- Flavor Boost:
- Experiment with adding a splash of bourbon or rum to the filling for a boozy twist. Alternatively, try a teaspoon of orange zest for a citrusy undertone.
- Creative Toppings:
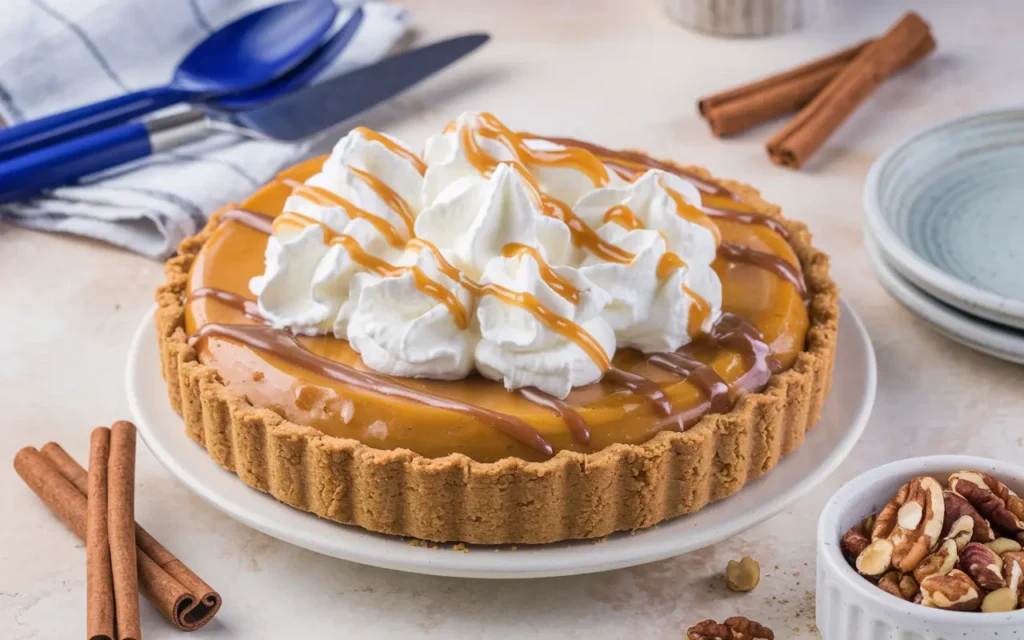
- Drizzle caramel sauce or sprinkle sea salt on top of the pie before serving. These elements pair wonderfully with the creamy pumpkin filling.
While pumpkin pie delivers a comforting seasonal flavor, why not add a bit of variety to your dessert table? Pair it with other indulgent treats like cookies for an irresistible spread. If you’re looking for an easy, crowd-pleasing recipe, try these Delicious Chocolate Chip Marshmallow Cookies. Their chewy texture and gooey marshmallow centers perfectly complement the creamy richness of the Milk Bar Pumpkin Pie.
Pro Tip:
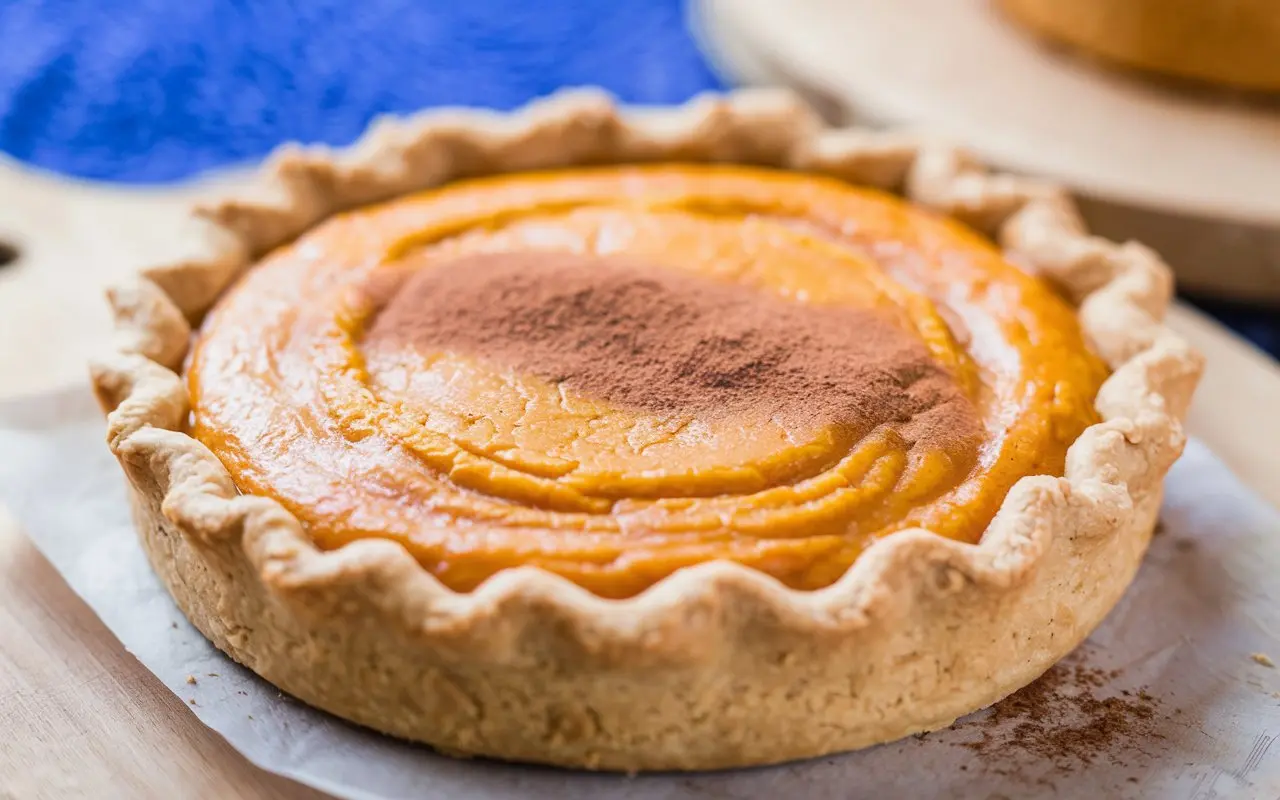
- If you’re serving the pie at a special occasion, use a stencil to create a powdered sugar or cocoa powder design on top for a professional finish.
Serving and Storing Tips
Once your Milk Bar Pumpkin Pie is baked and cooled, serving and storing it properly will ensure it stays delicious and fresh. Here’s how to present and preserve this iconic dessert.
How to Serve Milk Bar Pumpkin Pie
- Perfect Presentation:
- Slice the pie with a sharp knife for clean, even cuts. For best results, wipe the knife clean between each slice.
- Serve each slice on a dessert plate and garnish with a dollop of whipped cream or crème fraîche.
- Creative Toppings:
- Whipped Cream Swirls: Use a piping bag to add decorative swirls of whipped cream on each slice.
- Crumbly Toppings: Sprinkle crushed graham crackers, toasted nuts, or candied ginger over the whipped cream for added texture.
- Drizzles and Dustings: Drizzle caramel or chocolate sauce on top or dust the pie with powdered sugar, cocoa, or a pinch of cinnamon.
- Pairing Ideas:
- Pair the pie with a warm drink like spiced cider, chai tea, or a pumpkin spice latte for a cozy treat.
- For a more decadent pairing, serve with a scoop of vanilla or salted caramel ice cream.
- Temperature Matters:
- The Milk Bar Pumpkin Pie is best served slightly chilled or at room temperature. Avoid serving it straight from the fridge, as the flavors are more pronounced when it’s not overly cold.
Storage and Freezing Tips
- Storing Leftovers:
- Cover the pie tightly with plastic wrap or aluminum foil and store it in the refrigerator. It will stay fresh for up to 4 days.
- Place slices in an airtight container to prevent them from drying out.
- Freezing the Pie:
- Whole Pie: Wrap the fully cooled pie tightly in plastic wrap, then a layer of foil. Freeze for up to 2 months.
- Individual Slices: Wrap each slice in plastic wrap and place them in a freezer-safe container for easy, grab-and-go portions.
- Thawing and Reheating:
- To thaw, transfer the pie to the refrigerator and let it sit overnight. Avoid microwaving, as this can affect the texture.
- If you prefer a warm slice, heat it gently in a 300°F (150°C) oven for 10 minutes.
- Avoid Freezer Burn:
- Double-wrap the pie or slices and ensure no air is trapped inside to prevent freezer burn.
Pro Tip:
- Before freezing, consider freezing the pie without toppings like whipped cream or caramel. Add these fresh after thawing to maintain the best texture and flavor.
Final Thoughts
The Milk Bar Pumpkin Pie is more than just a dessert; it’s a centerpiece for festive gatherings and a treat that brings warmth and joy to every occasion. By following this step-by-step recipe, you’ve mastered the art of recreating one of Milk Bar’s most beloved creations at home.
From its buttery, crunchy crust to the creamy, spiced pumpkin filling, this pie is a showstopper. Whether you stick to the classic recipe or add your unique twist, this dessert is sure to leave a lasting impression on anyone lucky enough to try it.
Don’t forget to experiment with toppings and pairings to make it your own. And most importantly, savor every bite of your homemade Milk Bar Pumpkin Pie. You’ve earned it!
FAQ
What is Milk Bar Crack Pie made of?
Milk Bar Crack Pie, now known as Milk Bar Pie, is made from a buttery oatmeal cookie crust and a rich, gooey filling of butter, sugar, eggs, heavy cream, and powdered milk. Its sweetness and addictive flavor earned it the nickname “Crack Pie.”
Which is better for pumpkin pie: evaporated milk or condensed milk?
Both can be used, but sweetened condensed milk provides a richer, sweeter filling since it already contains sugar. Evaporated milk requires additional sugar and delivers a slightly lighter flavor. For Milk Bar Pumpkin Pie, sweetened condensed milk is the preferred choice for its creamy consistency and sweetness.
Why did Milk Bar change Crack Pie’s name?
Milk Bar changed the name to Milk Bar Pie to reflect a more inclusive and sensitive approach. The original name, “Crack Pie,” was controversial due to its association with addiction, and the company wanted the name to better align with their brand values.
Should a pumpkin pie crust be prebaked?
Yes, it’s recommended to prebake (blind bake) the crust for pumpkin pie. This prevents the crust from becoming soggy when the wet pumpkin filling is added, ensuring a firm and crispy base.

